 Best
How to Hang Curtains
Hang curtains high and wide, mark both brackets level before you drill, fix them into a stud or the right anchor, then dress the folds so the panels fall evenly.
Hanging curtains well is mostly a measuring job, not a drilling job. Get the height and width right, mark both brackets level, and the rest falls into place.
Start with the high and wide rule
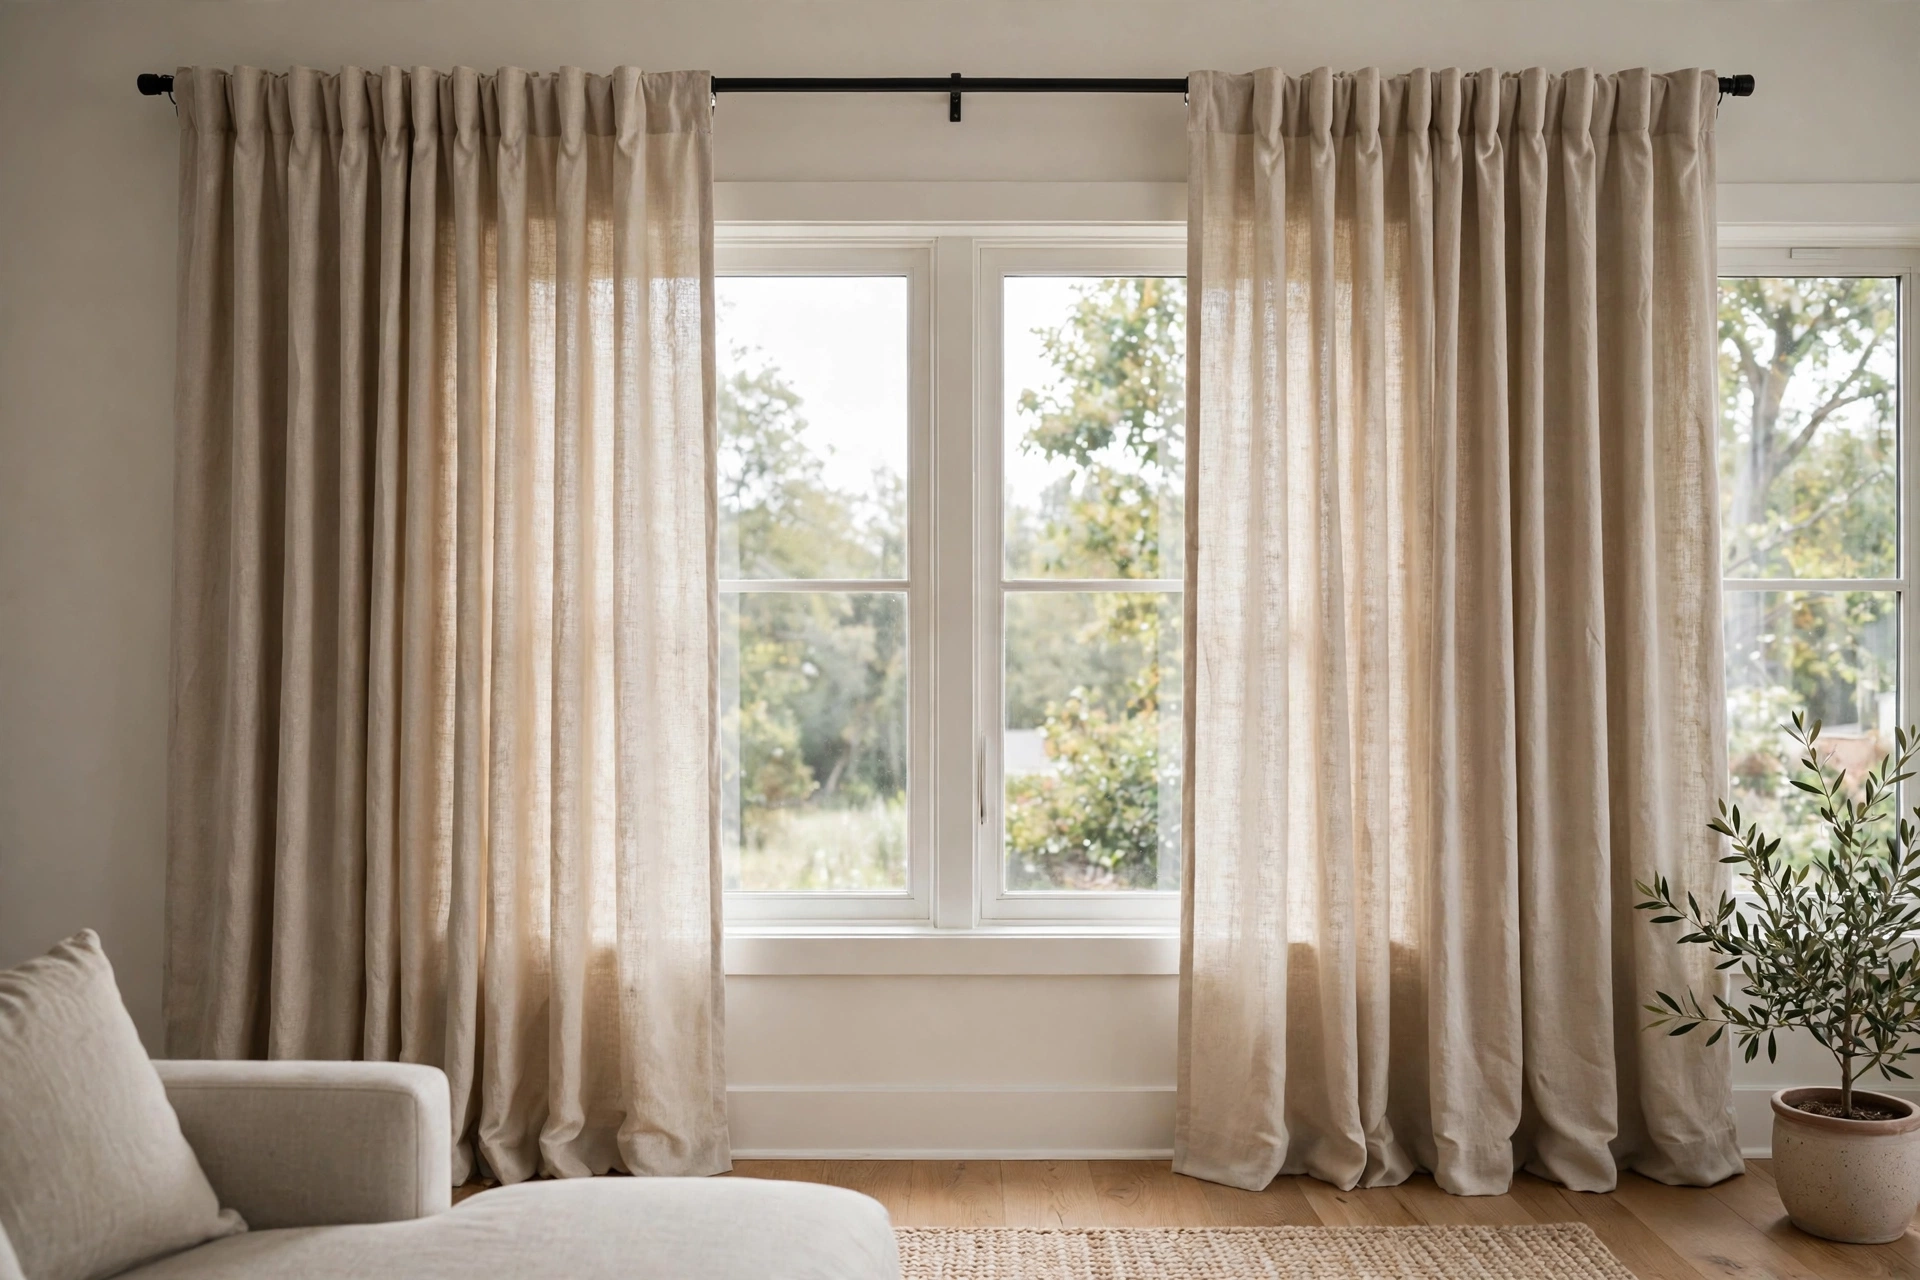
Hang the rod high and wide: that choice does more for a room than any other step here. A rod set high draws the eye upward and makes the ceiling feel taller. A rod set wide lets open panels sit on the wall beside the window instead of covering the glass, so the room keeps its light and the window looks larger.
As a starting point, set the rod 4-6 inches above the window trim, or halfway between the trim and the ceiling when that gap is small. Leave at least the finial length plus ring width clear at each end, so the rod does not hit a wall or corner. Check the finial length on the rod listing.
For width, extend the rod 4-10 inches past the frame on each side: the smaller end for a narrow window or tight wall, the larger end for a wide window or bulky fabric. A light switch, corner, or door frame can limit one side. Then either accept an off-center rod with the full extension on the free side, or shrink both sides equally to stay centered. Staying centered looks better; accepting off-center keeps more stack room on the free side. Choose one and mark it, rather than assuming both. For a full look, the combined panel width should be about 1.5-2 times the window width. If you are still choosing panels, read How to Measure for Curtains and Curtain Sizes and Lengths before you order.
Gather tools and check your wall
Gather everything before you open the rod packaging: a tape measure, a pencil, a level, a stud finder, a drill or drill driver, drill bits matched to your anchors, a screwdriver, a step ladder, safety glasses, and painter's tape.
Lay out the hardware and check the rod reaches the length you need. Packed plastic anchors suit only light curtains on short rods, so buy better anchors for heavy drapes or wide windows.
Check what is behind each bracket mark before you drill. A stud finder can show wood framing, and the solid header above most windows often gives a strong fixing point. Where you hit wood, a long wood screw is the strongest choice. Where you miss wood, match the anchor to the wall: a threaded anchor for light curtains on hollow drywall, or a toggle bolt for heavy drapes. Tape over the drill mark on plaster before drilling so it does not chip. Brick and concrete need a masonry bit and anchor, tile needs a tile bit at low speed with the hammer mode off, and metal studs need toggle bolts or screws made for metal studs.
Do not guess the anchor from the screw in the packet. Stay clear of hidden wiring, which often runs vertically above and below outlets and switches, and horizontally between them at outlet height. Use the AC detection mode on your stud finder if it has one. If it has none, switch off the circuit for that wall and check with a non-contact voltage tester before drilling. For a heavy or high install, or a wall you are unsure about, get a second person to hold the rod, or a handyperson for the install, rather than forcing a fixing that feels weak.

Choose a heading that suits how you use the rod
Pick the heading by how often you will open and close the curtains, not by looks alone: a heading that slides well matters every day, while a heading that catches will annoy you every day. Check that every heading matches your rod diameter and bracket type: the rod must pass through grommets, rings, pockets, and tabs, and hooks must fit the rings or track.
Grommet headings have metal rings set into the top of the panel, and the rod threads through them. They slide easily, form deep even folds, and suit curtains opened daily, including Best Curtains for Living Room panels. They need a rod thinner than the grommet inner diameter: check that diameter on the listing, and choose a rod diameter smaller than it. If the listing does not state it, check on one panel before ordering the rod. The outermost ring sits outside the bracket.
Rod pocket headings have a sewn channel at the top, and the rod threads through it. They gather into soft folds and hide the rod, but they slide less freely than grommets, so they suit panels that stay mostly in place.
Pinch pleat headings have pleats sewn into the top, with hooks or pins at the back that attach to rings or a track. They give a tailored look and suit bedrooms where panels close for privacy at night. Count the pleats, match the hooks evenly, and check the length on a few hooks first, since the hook position sets the drop. This style fits many Best Curtains for Bedroom panels.
Back tab headings have fabric loops sewn on the back, and the rod threads through them, hiding the rod from the front. They form soft folds and suit a relaxed look, but like rod pockets they slide less freely. Softer headings often suit Best Linen Curtains and Best Sheer Curtains.
Ring headings have rings clipped or sewn to the top of the panel, and the rod threads through them. They slide easily, suit curtains opened daily, and need a rod diameter smaller than the ring inner diameter, checked on the listing or on one panel.
Hang heavy curtains and wide spans without sag
Treat weight and span as one problem: a long rod carrying heavy fabric needs a thicker rod, closer supports, and firmer fixings than a short rod carrying sheers. Sag shows in the middle first, so fix it at the bracket stage, because adding support later means new holes.
Choose the rod for the load. A thicker rod resists bending better, and an adjustable rod is weakest at full extension, so pick a range that puts your length near the middle. For heavy lined or blackout fabric, and for thin rods under 1 inch in diameter, use the tighter end of that spacing, about 36 inches. Follow the rod maker's guidance where it differs.
Space the brackets so no span between supports passes 48 inches, and keep supports 36 to 48 inches apart. Rods up to 48 inches work with two brackets, one near each end. Rods over 48 inches up to 96 inches need a third bracket in the center. Rods over 96 inches need four brackets or more at that spacing: a 120-inch rod, for example, needs four brackets, about 40 inches apart. Place a support close to the joint on a two-piece adjustable rod, where telescoping rods bend first, and set each end bracket so the rod extends a short way past it, not counting the finial.
Use fixings that match the weight: a wood screw into framing where you hit wood, a toggle bolt for heavy drapes on hollow wall rather than a basic plastic plug. The header above the window often gives a wood fixing point, so scan that area first. If a bracket still feels weak, refit it before you hang the curtains. After hanging, sight along the rod: it should run straight, with no dip in the middle. This firmer setup matters most for Best Thermal Insulated Curtains and Best Blackout Curtains, whose lined fabric is among the heaviest you will hang.
Try a no-drill route when drilling is not an option
Use a no-drill route for light to medium curtains when drilling is not allowed or not wanted: it can look neat and come down cleanly, but it has limits, and heavy curtains still need drilled brackets. Match the method to the curtain weight and the surface.
A tension rod fits inside the window frame and holds by pressure between the two sides. It is introduced here, not in the measuring section below, because it needs no drilled brackets. Measure the inside width at the top, middle, and bottom, use the smallest number, and pick a rod that extends slightly beyond it. Twist it into place, check it with a level, and tug it down lightly before you hang the curtains. Tension rods suit sheers and light panels in a recessed frame with straight, parallel sides. They suit heavy blackout or lined drapes poorly, because the weight can pull the rod down.
Adhesive mounts and hooks stick to a clean, smooth surface and hold light panels without holes. Clean the surface first, press the mount firmly, and wait the time the maker states before you load it. Stay well inside the maker's weight guidance, and remove them by the maker's method to avoid peeling paint.
A ceiling track is not a no-drill route in most homes: it mounts to the ceiling and usually needs drilled fixings into the ceiling structure. Use it only if ceiling drilling is allowed, for a window close to the ceiling, a full wall of glass, or a room divider, and match the fixing to the ceiling structure. Test any no-drill route empty first, then with one panel, then with the full set. If it slips or sags, move to drilled brackets.
Measure first, in the right order
Measure in this order: window width, floor to ceiling, and floor to the top of the trim. Those numbers set the rod height, the rod length, and the panel length.
Measure the width from the outside edge of the trim on one side to the outside edge on the other. Add your chosen extension on each side to get the rod length, not counting the finials.
Measure from the floor to the top of the trim and to the ceiling, pick your rod height from that gap, and write the floor-to-rod number down. Mark that number on both sides, so the rod stays level even if the frame is slightly out of square.
Work out the panel length from the rod, not from the window. Measure from the planned rod position to the floor, then adjust for the heading: grommets sit on the rod with the panel top slightly above it, rod-pocket panels sit on the rod, back-tab panels hang from loops above the rod, and rings and hooks drop the panel below it, often by 1-3 inches. Check the drop on one panel first: hang it on the rod, measure hem to floor, and adjust the ordered length by that difference before ordering the rest. A hem that just touches the floor suits most rooms; a float just above the floor suits busy rooms and uneven floors; a puddle suits a formal room with little foot traffic. For a tension rod, use the inside-width method in the no-drill section above: measure at the top, middle, and bottom, and use the smallest number.
Mark both brackets before you drill
Mark both bracket positions level before you drill anything: this step stops a crooked rod. Drilling one bracket first and then matching the other by eye is the fastest route to a sloping rod, because walls, ceilings, and frames are rarely perfectly level.
Start from the floor, not from the frame. Measure up to your planned rod height on the left, repeat on the right, then hold the level between the marks and draw a faint line. If the floor slopes, the floor marks will not be level: keep the higher mark, move the lower mark up until the level line passes through both, and drill on the level line, not on the floor marks. If that leaves one side noticeably higher above the trim, split the difference and check from across the room.
Mark each end bracket the same distance from the window center, so the rod stays centered. Then correct for bracket offset: the screw holes do not always line up with the spot where the rod sits. Hold a bracket against the wall, measure from its rod cradle to its screw hole, and shift your drill mark by that distance in the direction from the cradle toward the hole, so the cradle lands on your height line. If the hole sits below the cradle, shift the mark down; if it sits above, shift it up. Pencil through the screw holes, mark the center bracket last if you need one, and check the marks from across the room before you drill. If windows in one room differ in height, set every rod at one shared height, based on the tallest window.
Drill, anchor, and fix the brackets
Drill a pilot hole sized for the anchor, set it flush, and fix each bracket snug without stripping it.
For wood, drill a pilot hole with a bit slightly thinner than the screw. For an anchor, use the exact bit size printed on the packet. For a threaded or plastic anchor, seat it flush with firm hand pressure and a few light taps. For a toggle bolt, fold the wings, push them through the larger hole, and pull back until they open behind the wall before tightening. For masonry, drill with a masonry bit and seat the masonry anchor flush. If you have to hammer hard, the hole is too small; if the anchor slides in freely, it is too large. Re-drill at the right size.
Screw each bracket until snug, then stop: over-tightening strips the anchor or crushes drywall. Check with a level, then give each bracket a firm tug. If it moves, refit it with the right anchor before you hang any weight on it.
Hang the panels and dress the folds
Load the panels onto the rod before you set the rod in the brackets, then set the rod, tighten the set screws, and fit the finials: hanging the panels first saves you from threading fabric while you balance on a ladder. Slide the panels on left to right in the order they will hang, so patterned or lined panels end up on the correct side.
For grommet panels, take the finials off, fold the panel so the grommets come together, and weave the rod through from the front, with the outermost grommet outside the bracket. For ring and hook panels, attach the rings or hooks evenly first, then lift the panel on from one end, keeping the rings in order. For rod pocket and back tab panels, thread the rod through and ease the fabric along it.
Dress the folds: pull the panel into even folds of similar width, push folds to the sides so fullness is shared across the rod, and let the inside edges overlap slightly in the middle, so no gap shows when closed. Check the hem across: one side hanging lower usually means a bracket is off level or a hook sits in the wrong pocket. A center bracket blocks standard rings and grommets from sliding past it, so if one panel must travel the full width past a center bracket, use bypass brackets or C-rings that pass around the bracket, or a track that runs past the support, and plan that before you drill the bracket holes.
Fix the mistakes that make curtains look wrong
Each mistake below comes with the fix that puts it right.
- Rod too low. Move the rod up to the high-and-wide position in the first section, and buy longer panels if the hem ends up short.
- Rod too narrow. Fix it by extending the rod 4-10 inches past the frame on each side, so open panels stack on the wall.
- Panels too short. Fix it by lowering the rod to match the panels you own, or by buying longer panels and re-marking the rod height. Lowering the rod breaks the high-and-wide rule, so buy longer panels if you can. Check Curtain Sizes and Lengths before you reorder.
- Panels too thin. Fix it by adding width until the combined panel width reaches about 1.5-2 times the window width.
- Rod not level. Fix it by re-marking both brackets from the floor with a level, correcting for bracket offset, and re-drilling only the side that is out. Fill and touch up the old holes.
- Brackets pulling out. Refit with the right anchor, or a wood screw where you hit framing, and add a center support if the span is long or the fabric is heavy. Adding a center support means new holes and may block sliding, so use bypass brackets or C-rings if a panel must travel past it.
- Rod sagging in the middle. Add a center support bracket, move to a thicker rod, or place a support close to the joint on an adjustable rod.
- Panels will not slide. If one panel must travel the full width, it needs bypass brackets or C-rings that pass the center support, or a track that runs past it. For daily use, switch to grommets or rings.
- Gap in the middle when closed. Fix it by letting one inside edge overlap the other, or by adding panel width.
- Curtains catching on trim or blinds behind them. Use brackets that project further from the wall, so the rod clears deep trim or an outside-mounted blind.
Frequently asked questions
Short answers to the questions readers ask most:
How high should I hang a curtain rod above the window?
Start at 4-6 inches above the window trim, or halfway between the trim and the ceiling when that gap is small.
How far past the window should a curtain rod extend?
Extend the rod 4-10 inches past the frame on each side. That space lets open panels stack on the wall instead of covering the glass.
Do I need to drill into a stud to hang curtains?
A stud gives the strongest hold, but it is not the only safe option. Where you miss wood framing, use an anchor matched to your wall type and curtain weight.
How do I stop a long curtain rod from sagging in the middle?
Use a thicker rod, add a center support bracket, and keep supports closer together for heavy fabric.
Can I hang curtains without drilling?
Yes, for light to medium curtains. A tension rod inside the frame, adhesive mounts on a suitable surface, or a ceiling track can work. Heavy curtains still need drilled brackets.
Should curtains touch the floor?
For most rooms, aim for a hem that just touches the floor or floats just above it. A puddle suits a formal room with little foot traffic.
Why do my curtains not close in the middle?
The panels are often too narrow, the rod is too short, or the heading catches on a bracket. Add width, extend the rod, and let one inside edge overlap the other.
How do I hang curtains so they slide easily every day?
Pick a heading that slides well, such as grommets or rings, and keep the rod level.
A last check before you step off the ladder
Do one final pass: the rod is level, each bracket is firm under a tug, the finials are tight, the panels stack clear of the glass when open, they overlap slightly in the middle with no gap when closed, and the hem runs even. If anything moves, fix it now, while the tools are still out.
Best Window Curtains pulls the type, fabric, and room choices together, while How to Measure for Curtains covers the numbers to check before you order panels for another window.